Your First Project
This walkthrough takes you from a blank project to a live audio-reactive visual in a few steps.
1. Create a new project
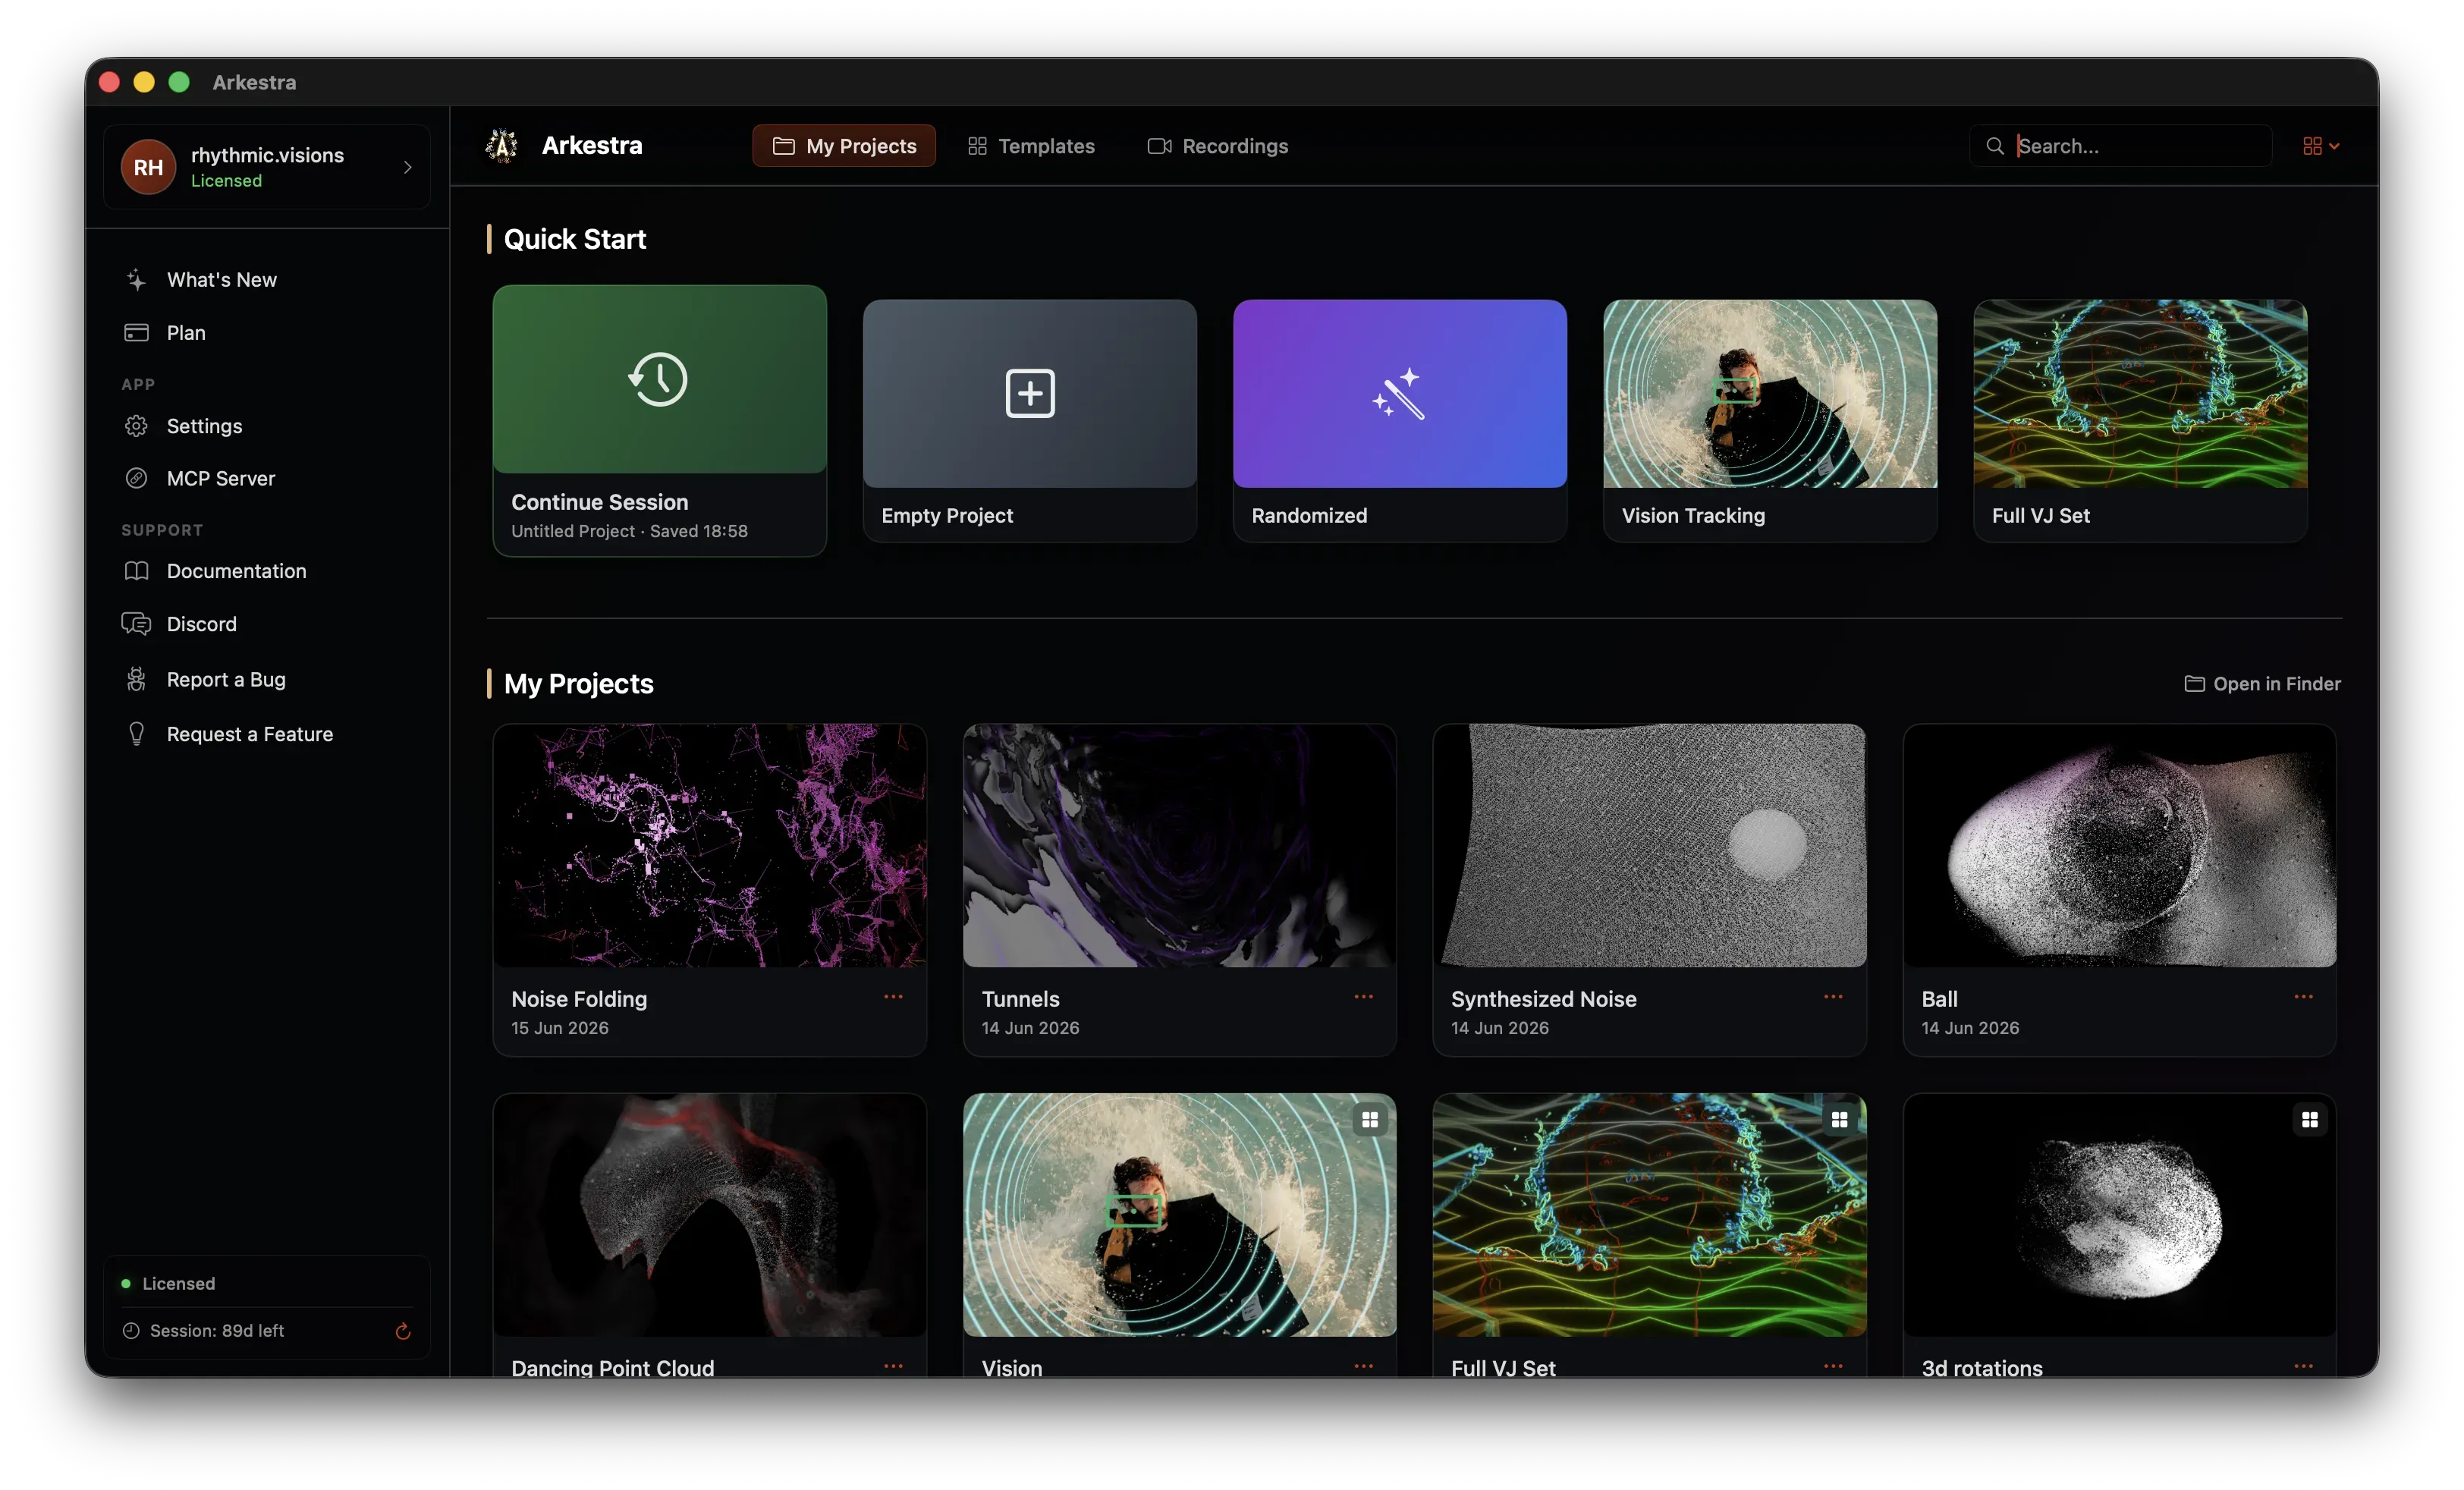
Section titled “1. Create a new project”Launch Arkestra and you’ll land on the start page. From here you can:
- Click Empty Project under Quick Start to open a blank project
- Click Continue Session to pick up where you left off
- Click any project card under My Projects to reopen it
- Pick a Template (top nav) to start from a pre-built setup
Once a project opens you’ll see the canvas and an empty track list.
2. Add a Layer track
Section titled “2. Add a Layer track”Click the Add Track button (⌘T) at the end of the track list. A new unconfigured track appears and the Inspector shows a track type picker. Choose Layer. Layer tracks are the most common type — they run a chain of shaders and output a full-frame texture.
3. Load a shader
Section titled “3. Load a shader”With the new track selected, click the Add Content icon (overlapping squares) in the right sidebar to open the content browser.
- Browse or search for a generator — try “Plasma” or “Noise”
- Drag it into the Chain Slots Bar, or double-click to append it to the active chain
The shader immediately renders in the canvas.
4. Explore its parameters
Section titled “4. Explore its parameters”With the shader added, the Inspector shows the chain view. Click the shader row in the Inspector to reveal all of its parameters.
- Drag a slider to change a value
- Right-click any parameter to see modulation and mapping options
5. Map a parameter to audio
Section titled “5. Map a parameter to audio”Right-click a float parameter (e.g. Speed) and choose Map To… → Audio Range 1 (Kick). The parameter now pulses every time the kick drum is detected from your audio input.
6. Add a second track and blend
Section titled “6. Add a second track and blend”Add another track via Add Track, load a different shader, then adjust the fader on the first track. The two tracks blend in the canvas.
You now have a live, audio-reactive, multi-track visual running.
Next steps
Section titled “Next steps”- Track Types — learn what each track type does
- Chains & Effect Racks — stack multiple effects in a chain
- Modulation Overview — LFOs, sequencers, MIDI, and more