

Audio Mapping
Arkestra includes a real-time audio analysis engine (DSP Processor) that detects drums and extracts frequency band energy from any audio input. The results are available as modulation sources.
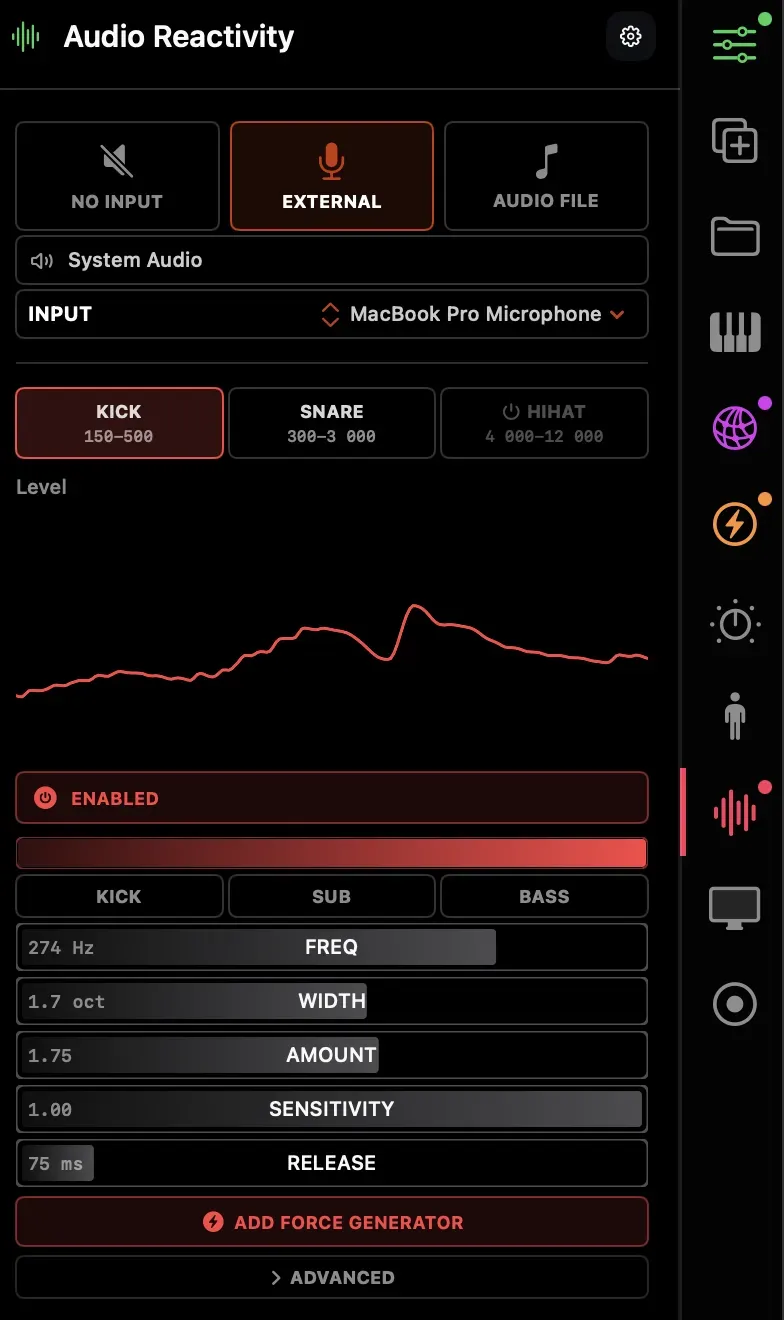
Audio sources available
Section titled “Audio sources available”Arkestra has 3 configurable detector ranges, each mapping to a frequency band and onset detector:
| Source | Default detector | Description |
|---|---|---|
| Audio Range 1 | Kick | Low-frequency onset detection (~45–296 Hz) |
| Audio Range 2 | Snare | Mid-frequency onset detection (~1571–4146 Hz) |
| Audio Range 3 | Hihat | High-frequency onset detection (~4–12 kHz) |
Each range’s frequency band, threshold, and input channel can be tuned in the Audio tab.
Multi-channel input
Section titled “Multi-channel input”When using a multi-channel audio interface, each detector can be independently routed to a specific input channel — or a sum of two channels. The Channel selector appears in each range’s settings row inside the Audio tab.
The channel picker shows a live level meter next to each channel, so you can immediately see which channels carry signal — handy when connecting a mixer or multi-channel interface. With the picker open, step through channels with the up/down arrow keys; the selection applies instantly. Press Return or Escape to close.
This means you can, for example, route Range 1 to kick on channel 1, Range 2 to snare on channel 3, and Range 3 to a summed stereo mix of channels 1+2 — all simultaneously.
Setting the audio input
Section titled “Setting the audio input”Open the Audio tab (waveform icon) in the right panel to select your input device and configure input channels.
Live frequency spectrum
Section titled “Live frequency spectrum”The audio panel shows a live full-spectrum frequency bar with peak-hold indicators and a highlight overlay for the selected band. It uses ~60 third-octave bands for an EQ-style look, so you can see the signal you’re mapping against at a glance.
- Drag on the bar to move the active band’s centre frequency.
- ⌘-drag to adjust the band’s width around its current centre.
The display pauses automatically when the panel is scrolled offscreen or hidden, so it costs nothing when you’re not looking at it.
Mapping audio to a parameter
Section titled “Mapping audio to a parameter”Right-click any float parameter → Map to Audio → [Range 1 / Range 2 / Range 3]
The parameter will now respond to that detector’s output. Adjust Depth and Min/Max range in the parameter’s modulation inspector to tune the response.
Master gain
Section titled “Master gain”The audio Master Gain sits in the signal output stage — it scales the analysed signal after the raw input path, and its control lives in the audio panel. It syncs to the detectors every frame, so gain changes apply immediately.
Envelope settings
Section titled “Envelope settings”Each drum detection output has:
- Attack — how quickly the signal rises on a detected onset
- Release — how quickly it decays after the onset
- Threshold — sensitivity (higher = fewer detections)
Shorter attack + shorter release = tight, punchy response. Longer release = lingering effect.
- Use Range 1 (Kick) for sharp, percussive parameter hits on the kick
- Use Range 3 (Hihat) for tight 16th-note movement
- Combine audio (short release) + LFO (slow sine) on the same parameter for rhythmic pulses riding a slow wave